Uncategorized
Creative! How to Light Paint with Your Drone
Light painting is a very interesting topic and in this tip, I will show you how you can paint with your drone.
What you gonna need?
- Of course, a drone with some signal lights or you can equip it with some extra lights.
- A camera with the ability to take long exposure shots. For my Pictures, I used a Sony A7s ii in Bulb Mode.
- A remote control is recommended. If you operate direct on the camera, the picture will be shaky. For example, the Panasonic GH4 or the Sony A7s ii does have a smartphone app where you can control the camera remotely.
What is Bulb Mode?
Bulb mode allows you to take a long exposure picture as long as you want. You can use bulb mode by choosing manual mode, then start scrolling all the way to the end of the shutter speeds. After the 30 or 60 seconds mark, it will show “bulb” or simply the letter “b” on some cameras. Now you’re in bulb mode. This means the camera will keep taking a picture until your finger comes off the shutter button.
Now we are ready to take some drone light painting pictures.
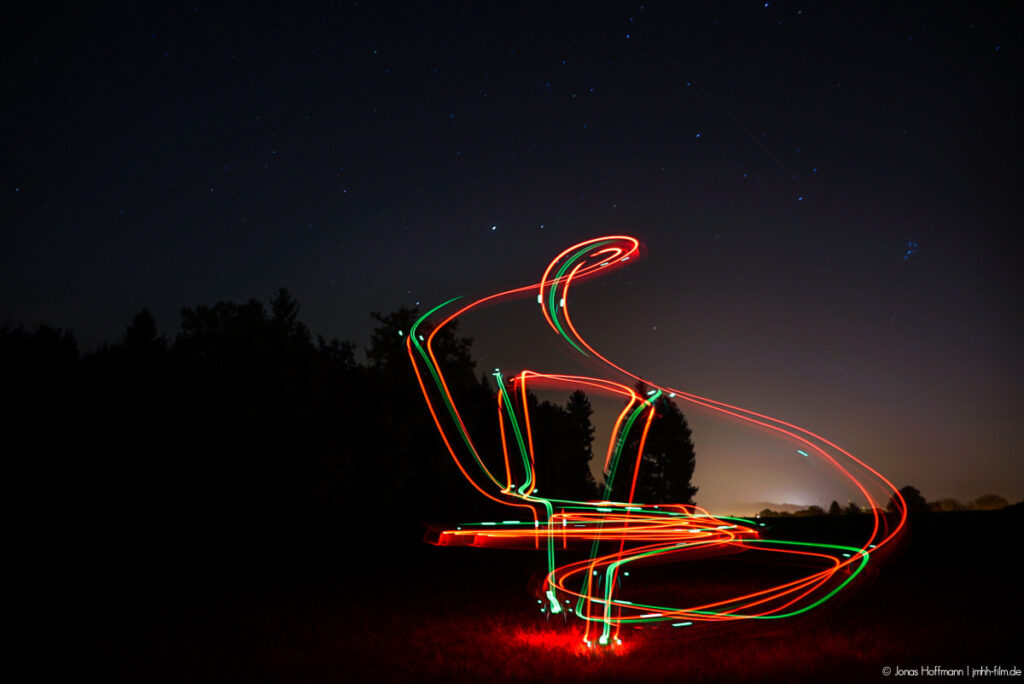
1.First try

Aperture:3.5 Shutter Speed:50s ISO:100 Type:ILCE-7SM2
At this picture, we simply flow some forms, nothing special. You can try it by yourself and you will be surprised what you get.
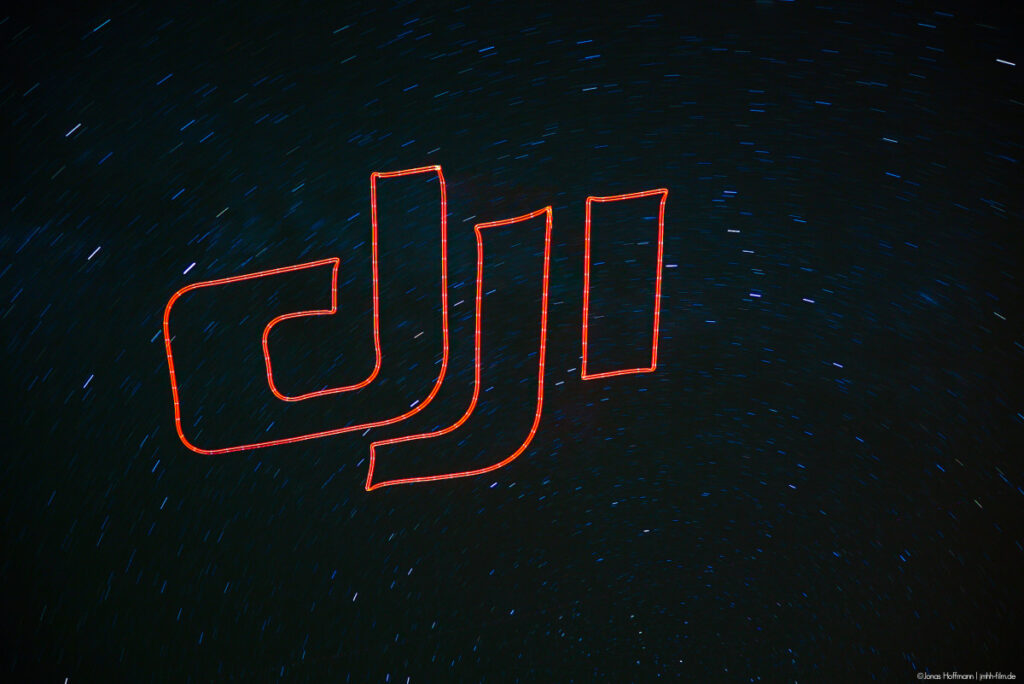
2.DJI logo written in the sky

Aperture:3.5 Shutter Speed:335s ISO:100 Type:ILCE-7SM2
For this picture, we used the App Litchi to create a flight path in the shape of the DJI logo. The only thing we did with Photoshop on this Picture is to delete the gaps between the letters d – j and j – i.

